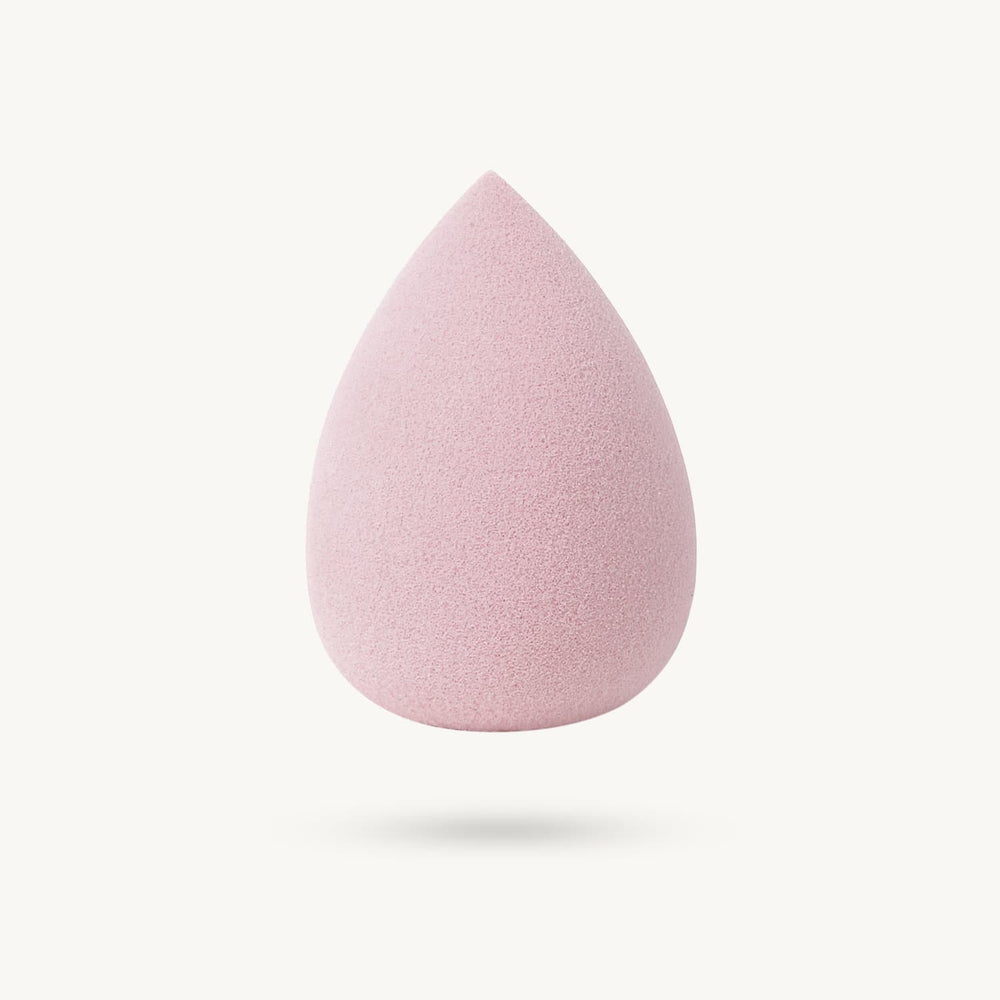
Mastering the Art of Makeup Blending with a Blender
The Importance of Makeup Blending
When it comes to achieving a flawless makeup look, blending is key. Whether you’re applying foundation, concealer, or contour, seamlessly blending your makeup ensures a smooth and natural finish. This is where a makeup blender becomes an essential tool in your beauty arsenal, helping you achieve professional-quality results at home.
Choosing the Right Blender
With so many options available on the market, choosing the right makeup blender can seem overwhelming. From traditional sponge blenders to silicone and microfiber options, each type has its own unique benefits. Consider factors such as texture, density, and shape to find the blender that best suits your needs and preferences.
Preparing Your Blender
Before diving into your makeup routine, it’s important to properly prepare your blender for use. Start by dampening the blender with water – this helps to prevent it from absorbing too much product and ensures smoother application. Squeeze out any excess water and gently pat the blender with a towel to remove any moisture.
Foundation Application
Begin by applying a small amount of foundation to the back of your hand or directly onto the blender. Using dabbing and rolling motions, gently blend the foundation onto your skin, starting from the center of your face and working your way outwards. The dampness of the blender helps to distribute the foundation evenly and creates a seamless finish.
Concealer and Color Correction
For concealer and color correction, apply the product directly to the areas you wish to target – under the eyes, around the nose, and on any blemishes or discoloration. Use the pointed tip of the blender to blend and feather out the product, ensuring smooth transitions and avoiding any harsh lines. The precision of the blender allows for targeted application and effortless blending.
Contouring and Highlighting
When it comes to contouring and highlighting, a makeup blender can be your best friend. Apply cream or liquid contour and highlight products to the desired areas of your face – think cheekbones, temples, and the bridge of the nose. Use the blender to blend and diffuse the products, creating natural-looking shadows and luminous highlights that enhance your features.
Blush and Bronzer
For blush and bronzer application, opt for a larger, more rounded blender. Swirl the blender in the product and apply it to the apples of your cheeks or along your cheekbones for a healthy flush or sun-kissed glow. Blend upwards towards your temples to seamlessly blend the color into your skin for a radiant finish.
Setting Your Makeup
Once you’ve finished applying your makeup, use the clean, damp blender to gently press setting powder into your skin. This helps to lock your makeup in place and creates a smooth, matte finish. Focus on areas that tend to get oily or where makeup tends to crease, such as the T-zone and under the eyes.
Cleaning and Maintenance
To ensure the longevity of your makeup blender and maintain optimal hygiene, it’s important to clean it regularly. Simply wash the blender with mild soap and warm water after each use, squeezing out any excess product until the water runs clear. Allow the blender to air dry completely before storing it in a clean, dry place.
Practice Makes Perfect
Like any skill, mastering the art of makeup blending with a blender takes time and practice. Experiment with different techniques and products to find what works best for you, and don’t be afraid to step out of your comfort zone. With patience and perseverance, you’ll soon become a blending pro, achieving flawless makeup looks with ease. Read more about makeup blender


:max_bytes(150000):strip_icc()/highest-value-upgrade-for-bathroom-GettyImages-1256574533-68fa8b7e19d5439392ea86c2a5e433ec.jpg)


